What Is Product Photography? Tips to Capture Stunning Product Shots

Product photography is all about capturing your product in a way that makes people want to buy it. Think of it as your product’s digital handshake—it’s the very first, and often most important, impression you make on a potential customer online. It’s about telling a story, earning trust, and making your brand look like the real deal.
Why Quality Product Photos Matter
When someone can't physically pick up, touch, or inspect your product, your photos have to do all the heavy lifting. They become your silent salesperson, working 24/7 to show off quality, create desire, and nudge a shopper to finally click that 'buy' button. It's a specialized field of commercial photography that’s laser-focused on one thing: presenting an item in its absolute best light.
This is so much more than just snapping a quick picture with your phone. Truly effective product photography is a careful blend of styling, lighting, and editing. The goal is to create images that are not only beautiful but also incredibly accurate, bridging the gap between a customer's screen and the real-life product. This visual reassurance is what gives them the confidence to make a purchase.
The Direct Impact On Sales
The power of a fantastic product photo isn't just a gut feeling; it’s proven by how people shop. A whopping 67% of online buyers say image quality is the single most critical factor in their purchasing decision—more important than product descriptions or even reviews. Even better, simply using larger, higher-quality images can boost sales by nearly 9.5%.
Good product photography removes doubt. It answers questions visually, showing texture, scale, and detail in a way that words alone cannot.
To give you a clearer picture, I've put together a table that breaks down the essential ingredients of great product photography and why each one is so crucial.
Core Elements of Effective Product Photography
These elements work together to create a powerful visual sales pitch that can make or break a customer's decision.
More Than Just A Pretty Picture
Beyond boosting sales on your product pages, strong photography is the backbone of your entire marketing strategy. You simply can't run effective social media ads, email campaigns, or broader brand-building efforts without compelling visuals. For example, strategies like product seeding and influencer gifting rely almost entirely on having high-impact imagery to make them successful.
Ultimately, investing in how your products are seen is one of the most reliable ways to:
- Build brand trust and make your business look polished and professional.
- Increase conversion rates by making your products feel irresistible.
- Reduce return rates by setting perfectly accurate customer expectations from the start.
The Different Types of Product Photos That Actually Sell
Not all product photos are created equal, and knowing which type to use—and when—is the secret to turning browsers into buyers. Think of your product images like a visual toolkit. You wouldn't use a hammer to saw a board, right? The same logic applies here; you need the right image for the right job to build a compelling story around your product.
The two most powerful tools in your kit are individual product shots on a clean background and lifestyle photos that show your product in its natural habitat. Each one plays a unique and vital role. One builds crystal-clear understanding, while the other sparks imagination and desire. The best online stores masterfully blend both to answer every potential question and create an irresistible emotional pull.
This infographic breaks down how different elements of product photography directly impact your bottom line.
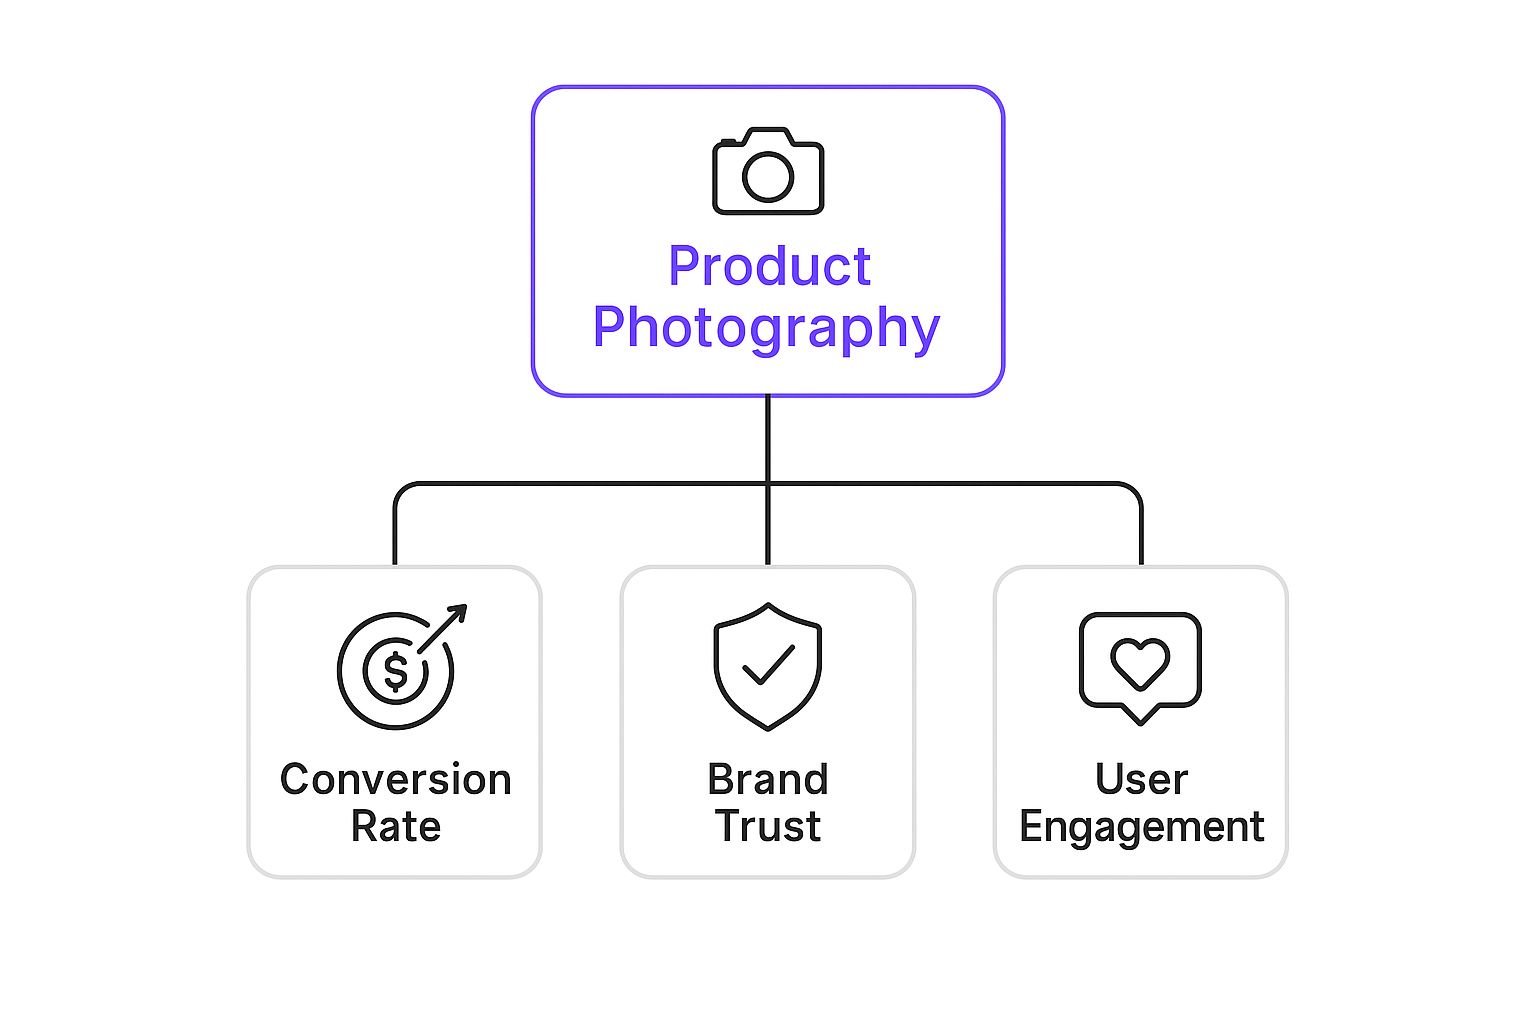
As you can see, a smart approach to your photos is directly tied to higher conversion rates, stronger brand trust, and keeping customers engaged.
Individual Product Shots
Often called packshots, these are the undisputed workhorses of e-commerce. They show your product floating on a clean, consistent background—usually pure white. This look is the gold standard for massive marketplaces like Amazon and is absolutely essential for creating a professional, uncluttered catalog on your own website.
The main goal here is simple: show the product clearly and honestly, with zero distractions. This style gives customers the freedom to zoom in and really inspect the item from every angle, focusing on its specific features, colors, and textures. When people ask "what is product photography," this is the most fundamental answer.
These clean, straightforward images build confidence. They send a clear message: "This is exactly what you’re getting." That's a powerful way to ease purchase anxiety and cut down on returns.
A complete set of individual shots should always include:
- The Hero Shot: Your absolute best, most flattering main product image.
- Alternate Angles: Photos from the front, back, and sides to give a full 360-degree sense of the item.
- Detailed Close-Ups: Macro shots that zoom in on fine details, quality craftsmanship, or unique textures.
Lifestyle and In-Context Shots
While individual shots inform, lifestyle photos inspire. These are the images that show your product being used in a real-world setting, helping customers picture it in their own lives. A photo of a ceramic mug on a stark white background is fine. But a photo of that same mug, steaming with fresh coffee on a cozy kitchen counter next to a good book? That tells a story.
It’s this narrative that builds an emotional bridge between your product and your customer. It instantly demonstrates the product's scale, function, and benefits in a way that feels relatable and aspirational.
Seeing jewelry on a model or a couch in a beautifully styled room makes the product feel more tangible and much more desirable. These are the kinds of shots that shine on social media, in email newsletters, and on your website's homepage.
Essential Gear to Get Professional Results
If you're worried you need a Hollywood-sized budget to get great product photos, I've got some good news for you. You don't. While high-end gear is nice to have, your technique is what really separates amazing photos from mediocre ones.
With just a few key pieces of equipment, you can capture images that look sharp, drive sales, and genuinely build your brand. Let's walk through what you actually need to get started.
Your Camera Is a Great Starting Point
Let’s get the big one out of the way first: the camera. The truth is, you probably have a fantastic camera right in your pocket. Modern smartphones are more than capable of taking high-resolution photos that look incredible on e-commerce sites and social media. Just be sure to use the highest quality setting your phone offers.
If you happen to have a DSLR or mirrorless camera, that’s even better. These give you a lot more manual control over settings like aperture and shutter speed, which opens up more creative possibilities. But remember, the camera is just the tool—how you light and style your product is what will make or break your shot.
The Unsung Heroes of Sharp Photos
Beyond the camera itself, a few other items are what I consider non-negotiable for getting that clean, professional look. These pieces help you control the scene and keep your shots consistent.
- A Sturdy Tripod: This might be the single most important piece of gear you can buy. A tripod holds your camera perfectly still, eliminating camera shake and guaranteeing crisp, clear images. It also locks your angle in place, which is crucial for making sure all your product photos have a consistent, professional feel.
- A Clean Background: For those classic e-commerce shots, a simple white background is your best friend. You can buy a roll of seamless paper (often called a "sweep") for a flawless, crease-free look. On a tighter budget? A large sheet of white poster board from any craft store works wonders.
- A Stable Surface: You'll need a solid table for your product and background. A simple folding table is perfect because it gives you plenty of room to work. Something around 24-27 inches wide is usually the sweet spot.
A tripod doesn't just steady your camera; it frees your hands. This allows you to focus on adjusting your lighting and making tiny, crucial adjustments to your product's positioning without losing your frame.
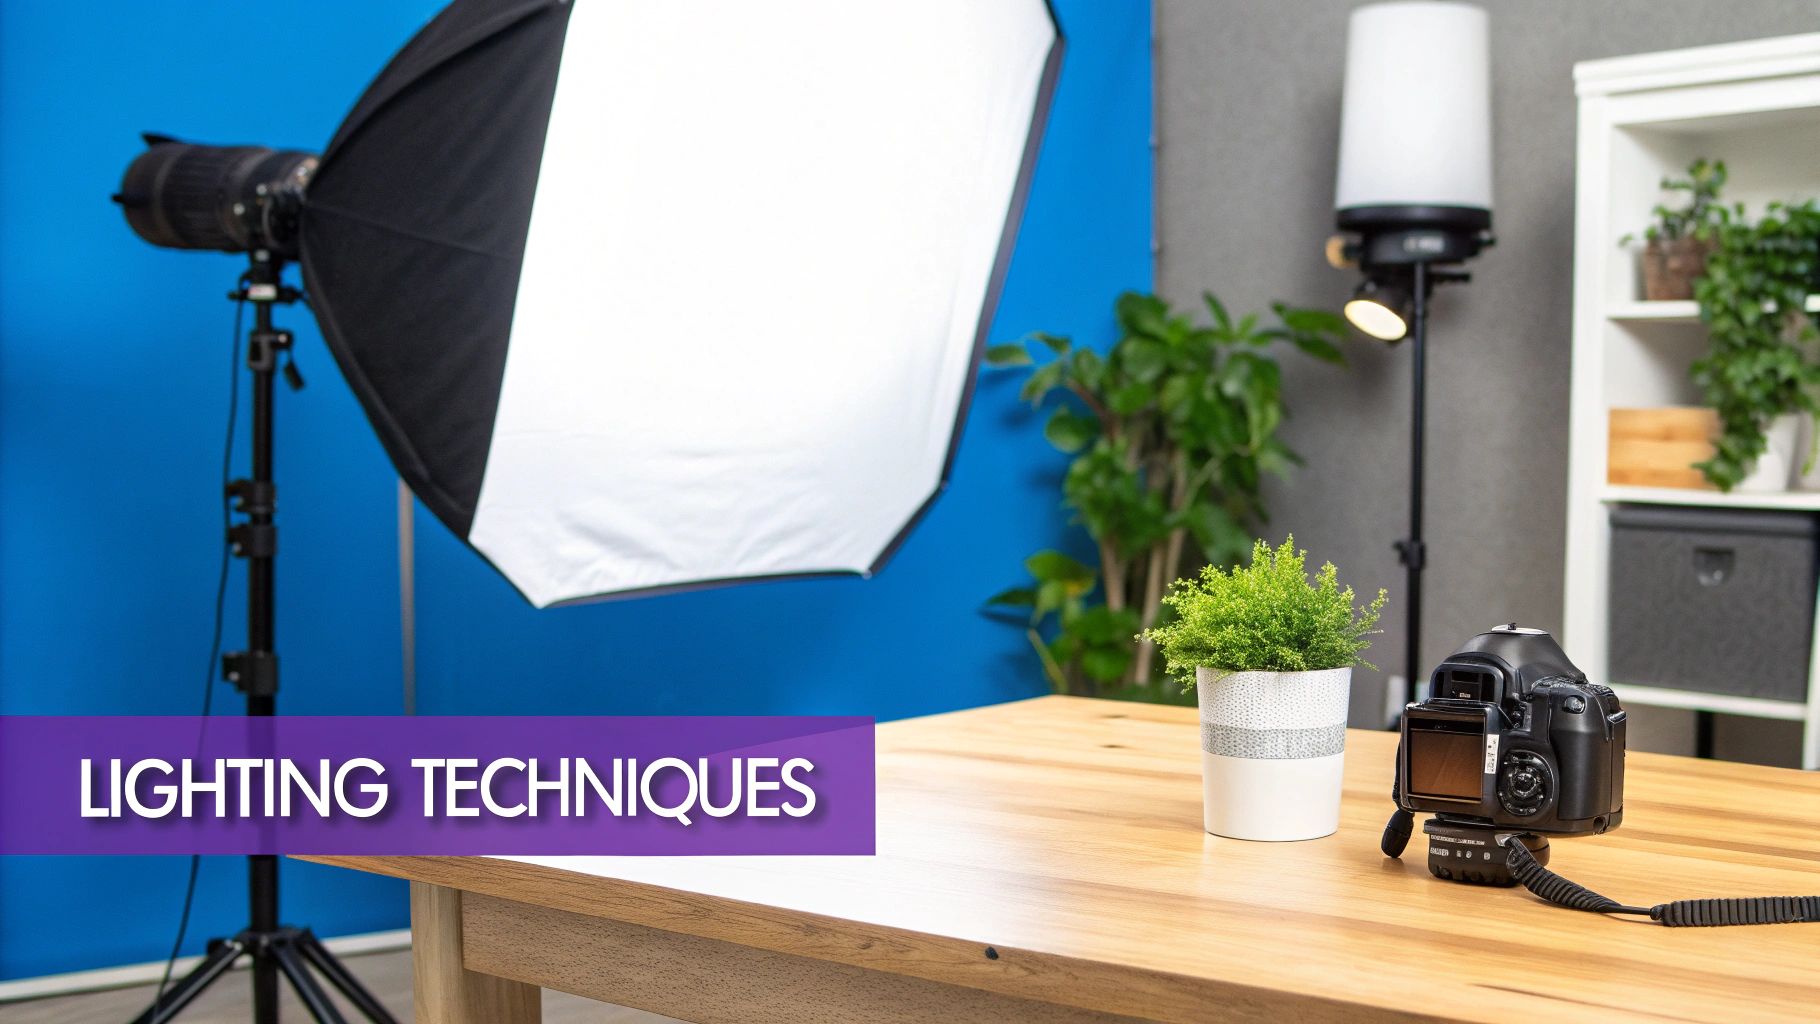
Mastering Your Lighting Setup
Good lighting is everything. It’s the soul of product photography. It carves out the shape of your product, highlights textures, and sets the entire mood. You really have two options here: natural light or artificial light.
Natural Light: This is the free option! Setting up next to a large window can give you beautiful, soft light that's very flattering for most products. The key is to avoid harsh, direct sunlight. The only downside? It's completely dependent on the weather and time of day, making it tough to be consistent.
Artificial Light: If you want total control and consistency, artificial light is the way to go. You don't need a huge, complicated setup to get started. A simple one-light kit with a softbox is a fantastic starting point. A softbox diffuses the light, creating soft, even shadows—much like that perfect window light, but available 24/7.
To take it a step further, grab a cheap white foam board from a craft store. You can use it as a reflector to bounce light back into the shadows on your product, making everything look bright and clean. This simple light-and-reflector combo is an incredibly powerful and versatile setup.
Best Practices for Photos That Convert
Having the right gear is a fantastic starting point, but it's your technique that really turns a simple photo into a powerful sales tool. Think of these best practices as your playbook for creating images that don't just show off your product, but actually convince customers to click "add to cart." They're simple, effective, and you can start using them right away.
First things first: brand consistency is king. Your product photos are a core part of your brand's identity. Whether you’re going for a minimalist white background or a rich lifestyle scene, every single image should feel like it belongs to the same collection. This creates a polished, professional look that builds trust with your shoppers.
Composition and Styling
A few simple composition tricks can make a world of difference. Take the rule of thirds, for example. It's a classic for a reason. Instead of sticking your product right in the middle of the frame, place it slightly off-center. This small shift instantly makes the shot more dynamic and visually engaging, guiding the viewer's eye naturally.
Props are another great tool, but they need to be used wisely—they're the supporting cast, not the star of the show. Your goal is to add context and enhance the product, not overwhelm it. Selling a coffee mug? A few artfully scattered coffee beans nearby can tell a story without stealing the spotlight. It's all about applying good visual merchandising guidelines; the same principles that make a physical store display look amazing work wonders for your photos, too.
The goal of post-processing isn't to create a fake, idealized version of your product. It's to make the photo look as true-to-life as possible, matching what the customer will actually receive.
The Importance of Post-Processing
Editing is that final polish that takes your photos from "good" to "professional." This isn't about deception; it's about accuracy. Your camera doesn't always see things the way our eyes do, so a little bit of editing ensures the photo is a true representation of your product.
A few key adjustments are non-negotiable:
- Color Correction: You absolutely need the colors in the photo to match the real-life product. This is one of the biggest reasons for customer returns.
- Background Cleanup: A pristine, distraction-free backdrop is essential, especially for those classic white background shots that scream professionalism.
- Sharpening: A final touch of sharpening makes all the important details and textures pop, giving the image a crisp, high-quality feel.
Mastering both shooting and editing is what sets professionals apart. It's no surprise the photography services market is booming, with a global value of $55.6 billion in 2023 and a forecast to reach $81.83 billion by 2032. Photographers who nail these techniques are perfectly positioned to thrive. If you're interested in the market trends, you can explore the full industry report from Zenfolio.
To help you put it all together, here’s a quick checklist to keep handy.
Product Photography Best Practices Checklist
This simple table breaks down the essential techniques to make sure your product photos are always professional, consistent, and ready to convert browsers into buyers.
Following this checklist is a surefire way to elevate your images, build a stronger brand, and ultimately, drive more sales.
What's Next? A Look at the Future of Product Photography
The world of product photography is stretching far beyond simple, static images. The next chapter in visual commerce is already being written, and it’s all about creating interactive, immersive experiences that bring products to life right on a customer's screen.
Think about it. A customer isn't just looking at a photo of a backpack anymore. Now, they can spin it around a full 360 degrees, zoom in on the stitching, and digitally open every single pocket. That's the magic of 360-degree product views, and they're quickly becoming the new standard for giving shoppers a genuine feel for a product's form and function. This technology closes the gap between simply seeing an item and truly understanding it.
Stepping Into the Virtual Showroom
Augmented Reality (AR) takes this a giant leap further. It lets customers virtually "place" or "try on" products in their own space.
Picture this: you point your phone’s camera at your living room to see exactly how that new sofa would fit. Or you check how a pair of sunglasses looks on your own face before hitting "add to cart." AR makes shopping deeply personal and incredibly practical, tackling the biggest hurdle in e-commerce head-on: uncertainty.
When you let customers visualize products in their own environment, you do more than just sell—you build confidence. AR drastically reduces that "I'm not sure" feeling and has been shown to significantly lower return rates. It turns passive browsing into active, engaged participation.
These new visual tools are fueling some serious growth. The global eCommerce product photography market, valued at around USD 1 billion in 2024, is expected to double to USD 2 billion by 2033. This explosion is powered by innovations like 360-degree views and AR that make the entire customer journey more compelling.
The Rise of AI in Image Creation
Behind the scenes, Artificial Intelligence (AI) is also making huge waves. AI-powered tools are now handling tedious editing tasks like background removal and color correction automatically. This frees up photographers and creators to focus on what they do best: the artistic side of their craft.
As these tools get more powerful, it's worth exploring things like AI product image generators for entirely new ways to visualize and present products.
Keeping an eye on these trends isn't just about staying current—it's about future-proofing your brand. Embracing these technologies is how you'll keep customers engaged and stay one step ahead of the competition. The future of product photography is interactive, intelligent, and frankly, incredibly exciting.
Got Questions About Product Photography? Let's Clear Things Up.
Dipping your toes into product photography can feel like opening a can of worms. Suddenly, you’re wrestling with questions about cameras, lighting, and a dozen other things. It's totally normal. Let's tackle some of the most common questions head-on with clear, practical answers to get you started on the right foot.
Do I Really Need a Super Expensive Camera?
Honestly? No, you don't. While a high-end DSLR or mirrorless camera gives you more manual control and lens options, the smartphone in your pocket is a powerhouse. It's more than capable of capturing fantastic, high-resolution images that look incredible on most online stores and social media feeds.
What really makes or breaks a product photo are the fundamentals: good lighting, a steady hand (or tripod), and a clean, uncluttered background. Nail those things first. You can always upgrade your camera down the road if you find its technical limits are truly holding you back from a specific creative vision.
How Do I Get That Perfectly White Background?
Ah, the classic e-commerce look. Getting that seamless, pure white background is a two-step dance between how you shoot and how you edit. It's a core skill in understanding what is product photography for selling online.
First, shoot your product on a white surface, like a paper sweep or inside a lightbox. The real trick is to light the background separately from the product itself. This helps you get the background nice and bright without blowing out the details on your item.
Here's the thing: even with perfect lighting, your camera will probably render that white background as a light gray. The magic happens in editing. Using post-processing software, you can easily select the background and crank it up to pure white (that's RGB 255, 255, 255), giving you that crisp, professional look that marketplaces love.
What's the Difference Between Product and Commercial Photography?
This is a great question because it helps make sense of the industry. Think of commercial photography as a huge umbrella term for any photo used to sell something—whether it’s a product, a service, or even just an idea. It's a massive field.
Product photography is a specialized niche that sits right under that big umbrella. Its focus is razor-sharp: to showcase a physical item in a way that makes people want to buy it.
So, to break it down simply:
- All product photography is commercial photography. Its purpose is commerce.
- But not all commercial photography is product photography. A commercial shoot might capture actors for a TV ad, the architecture of a beautiful hotel, or the vibe of a restaurant—none of which are traditional product shots.
How Many Photos Should I Take of Each Product?
There's no single magic number here. The real goal is to visually answer every single question a customer might have if they were holding the product in a store. A great starting point is 5-7 photos per product. This gives you enough variety to tell the whole story without overwhelming your customer.
A solid image gallery usually includes:
- The Hero Shot: Your main image, typically on a clean white background, showing the product looking its absolute best.
- Different Angles: Show the front, back, and sides. Give people a 360-degree feel for the item.
- Detail Shots: Zoom in on what makes it special. Highlight textures, stitching, brand logos, or unique features.
- In-Context Shot: Show the product in use or in a styled setting. This helps with scale and lets customers imagine it in their own lives.
- Packaging Shot: If your packaging is a key part of the experience, show it off!
For more complex items with lots of features or accessories, you might need more. The key is to leave no visual stone unturned so your customer can buy with total confidence.
Can I Just Use My Phone for Product Photography?
Absolutely! Like we said before, smartphone cameras have gotten ridiculously good. With the right approach and a few cheap accessories, you can produce images that look completely professional.
The secret to success with a phone is controlling your environment. Use a small tripod to eliminate blur, find some beautiful natural light from a window, and use a simple app to get manual control over focus and brightness. Combine these simple steps with a clean background, and your phone photos will easily rival shots from a dedicated camera, especially for online use where most people are viewing on smaller screens.
Ready to turn those beautiful product photos into a high-converting website that actually grows your business? At Wand Websites, we build professional Shopify stores that help ambitious brands break free from marketplace limits. Let us handle the tech, so you can focus on creating. Learn more about how we can help you thrive at wandwebsites.com.
