How to Set Up Shipping on Shopify Your Complete Guide

Alright, let's get your Shopify shipping settings dialed in. This can feel a little overwhelming at first, but it really boils down to telling Shopify three things: where you ship from, what you ship in, and how you're going to charge for it.
Getting these fundamentals right from the start is non-negotiable. It’s the difference between a smooth, profitable fulfillment process and a constant headache of surprise costs and unhappy customers. We’ll walk through the essentials right here, so you can build a solid foundation for your entire shipping strategy.
Before we dive deep, let's get a high-level view of the core components you need to configure. Think of this as your pre-flight checklist.
Quick Answer: Your Core Shopify Shipping Setup
Here are the essential steps to configure before you can start shipping. We'll dive deeper into each one throughout this guide.
With that roadmap in mind, let's get into the specifics of each step.
Your First Steps in Shopify Shipping
Think of this as ground zero for your fulfillment operation. We're going to tackle the absolute must-dos before you even think about printing your first shipping label. Nailing these basics now will save you from so many common pitfalls that trip up new store owners.
Define Your Shipping Origin
First things first: Shopify needs to know where your packages begin their journey. This is your shipping origin address, and it's absolutely critical for getting accurate shipping rates. For most, this will be your warehouse, office, or even your garage if that's where you're packing orders.
Head over to Settings > Shipping and delivery to set this up. Double-check it for accuracy—a simple typo here is one of the most common, and easily avoidable, reasons for wonky shipping quotes at checkout.
Understand Your Package Types
Next, let's talk about what you're putting your products in. Do you have one go-to box that fits most of your items? Or maybe a mix of small poly mailers and larger cartons?
Shopify lets you save your most-used boxes as default package types, complete with their dimensions and empty weight. Taking five minutes to measure your standard packaging and plug those numbers in is a huge time-saver. It ensures Shopify has a baseline for calculating postage, preventing you from wildly over or undercharging customers.
Expert Tip: Your default package is your safety net. If you forget to add a weight to a new product, Shopify will use your default package to calculate a shipping rate. This prevents those dreaded "cannot ship to this address" errors at checkout and saves the sale.
Choose an Initial Shipping Strategy
Finally, you need a game plan for what you'll charge customers for shipping. You don't need a complex, multi-tiered strategy on day one, but you do need to start somewhere.
Most stores kick things off with one of these three popular approaches:
- Flat-Rate Shipping: This is the simplest method. You charge a single, fixed price for all orders going to a certain area (e.g., "$5 flat rate for all US orders"). Customers love the predictability.
- Free Shipping: A proven conversion booster. You can offer it on everything or, more commonly, use it to encourage larger orders (e.g., "Free shipping on orders over $75").
- Calculated Rates: This is the most accurate option. You connect your carrier accounts (like USPS or UPS) and let them calculate the exact shipping cost in real-time based on the order's weight, dimensions, and destination. No guesswork involved.
Setting Up Strategic Shipping Zones and Rates
Alright, you've sorted out your shipping origin and package sizes. Now for the fun part: telling Shopify where you'll ship and what you'll charge. This is all handled through shipping zones and shipping rates, and it's where you can get really strategic.
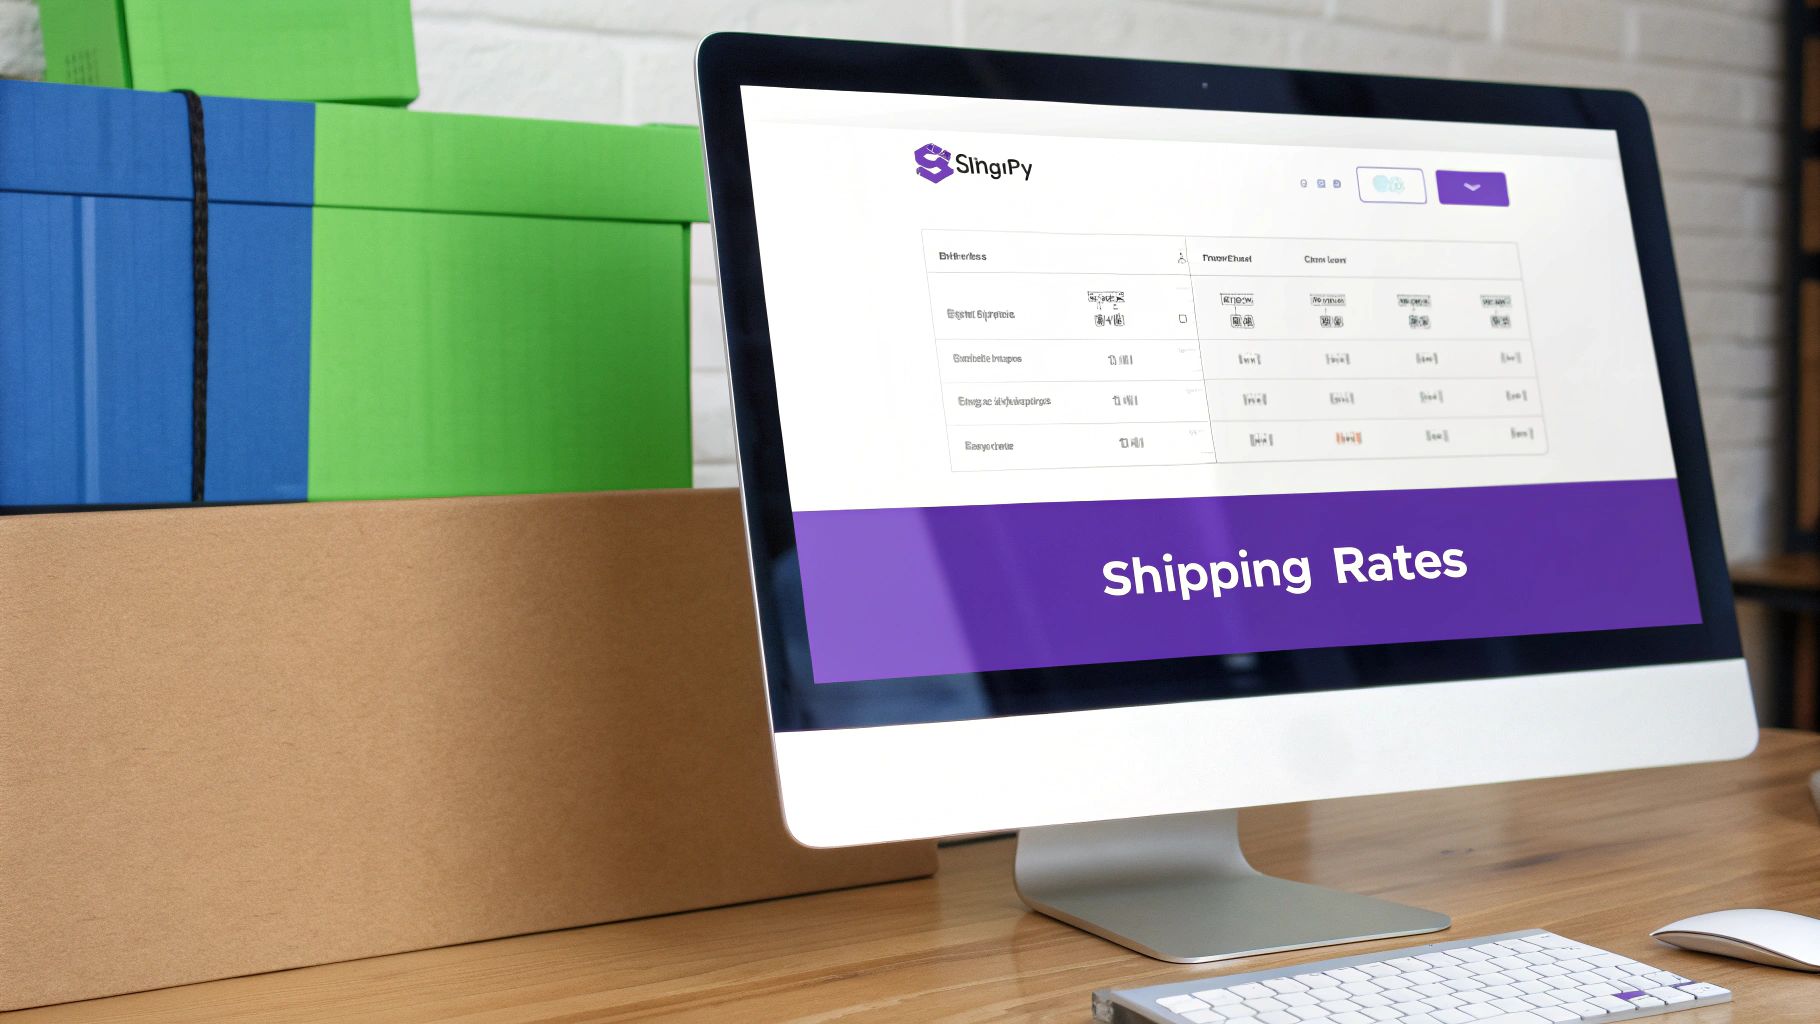
Think of a shipping zone as a geographical bucket. You can toss entire countries, specific states or provinces, or even a list of ZIP/postal codes into one of these buckets. Then, you assign a specific set of shipping rules and prices just for that group. Instead of a one-size-fits-all rate for the entire planet, you can create a "Domestic" zone for your home country, maybe a "North America" zone, and an "International" zone for everyone else. This lets you dial in your costs with much greater accuracy.
The image below gives you a nice visual of how this looks inside your Shopify admin. It's a clean, straightforward workflow for mapping out these crucial geographic areas for your shipping strategy.

Choosing Your Rate Structure
Once a zone is defined, you have to decide what to charge customers inside it. Shopify offers a ton of flexibility here. Let's break down the most common approaches I've seen work well.
Flat Rates: This is the soul of simplicity. You set one price—say, "$5.99 Standard Shipping"—for any order shipping to that zone. It's predictable for your customers and dead simple for you to manage, especially if your products are all roughly the same size and weight. You can even get a bit more advanced and add conditions, like a cheaper rate for orders under a certain weight.
Price-Based Rates: This approach ties the shipping cost directly to the customer's cart total. For example, you could charge $10 shipping for orders from $0-$49.99 and then offer a sweeter deal, like a $5 rate, for orders from $50-$99.99. This is a fantastic way to nudge customers into spending a little more.
Weight-Based Rates: If you sell a mix of items with very different weights—think a light t-shirt versus a heavy winter coat—this is your best bet for accuracy. You can set up tiers like "$8 shipping for 0-2 lbs" and "$15 shipping for 2.1-5 lbs." It ensures you're not losing money on heavy shipments or overcharging for light ones.
A smart move is to offer a mix of these. In fact, giving customers multiple shipping choices with clear pricing can boost your conversion rate by up to 20%. People love having the power to choose between saving money or getting their stuff faster. You can learn more about how shipping choices influence customers in this complete Shopify shipping guide.
Real-World Examples in Action
Let’s imagine this in action for a fictional store in California that sells handmade pottery.
Local Delivery Zone: The owner starts by creating a zone using just the local ZIP codes. For this zone, they add a "Local Delivery" rate for only $5. It's a cheap, convenient perk for their neighbors.
Domestic US Zone: Next, for the rest of the United States, they set up a zone with two clear flat-rate options: "$8.99 Standard Shipping (5-7 days)" and "$19.99 Expedited Shipping (2-3 days)."
Free Shipping Threshold: To sweeten the deal, they add a price-based rule within that domestic zone. They create a "Free Shipping" rate that kicks in automatically for any order over $100. This is a classic, powerful way to encourage shoppers to add that one last item to their cart.
By thoughtfully structuring your zones and rates, you transform shipping from a simple line item into a powerful marketing tool. You can build local loyalty, increase your average order value, and give customers the control and transparency they’ve come to expect.
Alright, you've got your shipping zones mapped out. Nicely done. Now for the fun part: deciding who actually gets your products to your customers' doorsteps.
How you handle this step in Shopify is a big deal. It's a balancing act between cost, speed, and keeping your customers happy. Your choice here really sets the foundation for your entire shipping strategy.
You essentially have two main paths you can go down. You can use Shopify's own built-in Shopify Shipping service, or you can plug in your own third-party carrier accounts. For anyone just starting out, I almost always recommend sticking with Shopify Shipping. It's a no-brainer. You get instant access to pre-negotiated, discounted rates from the big players like UPS and DHL Express without having to pick up the phone or sign a single contract.
This built-in feature has become a real cornerstone for modern e-commerce. As shipping gets more complicated, having this kind of automation and direct integration is a lifesaver. Shopify Shipping uses real-time calculated rates, which means it pulls the exact shipping cost at checkout based on the customer's address and the order's precise weight and dimensions.
This isn't just a niche feature, either. About 60% of Shopify merchants are now using these real-time rates. It's a clear trend showing just how important automation is for avoiding those costly shipping miscalculations. If you're curious about the tech behind this, you can get some great insights on Shopify's shipping evolution and how it all works.
When to Use Your Own Carrier Account
Shopify Shipping is fantastic, but it's not the perfect fit for everyone. There are definitely times when linking your own carrier account is the smarter move.
For instance, if you're pushing serious volume, you might be able to negotiate a better deal directly with a carrier like UPS or FedEx than the standard Shopify discount. If you already have a business account with some sweet, hard-earned discounts, you'll absolutely want to connect it to your Shopify store to make sure you're using those rates.
To do this, you'll need to be on a higher-tier Shopify plan or pay a small monthly add-on fee. Once connected, your unique, negotiated rates will show up for customers right at checkout, giving them an accurate price based on your contract.
My Two Cents: Kick things off with Shopify Shipping. It’s simple and the rates are solid. Once your business starts to scale and you're shipping a lot more, then it's time to crunch the numbers and see if a direct contract with a carrier could save you more money.
Expanding Your Options with Third-Party Apps
But what if you need something a little more specialized? Maybe you want to use a local or regional delivery service that isn't part of the Shopify Shipping network. Or perhaps you've got some tricky shipping rules, like sending specific products from different warehouses.
This is where the Shopify App Store becomes your best friend. Apps can fill in the gaps where the native setup leaves off. They can help you:
- Connect to regional carriers that cover specific areas, which can open up new, often cheaper, delivery options.
- Manage complex shipping logic, like setting up rules based on product tags, vendors, or customer location.
- Handle LTL (less-than-truckload) freight for those really big or heavy items that can't go through standard carriers.
Thinking through these three options—Shopify Shipping, your own account, or an app—is a critical step. Getting this right from the start means your shipping setup won't just be affordable, but it'll also be flexible enough to grow right alongside your business.
Creating a Smooth Order Fulfillment Workflow
Once you've nailed your shipping rates and carrier integrations, the real fun begins: orders start flowing in. Now, your attention turns to the hands-on part of the job—getting those packages packed up and out the door. A well-oiled fulfillment process isn't just about moving fast; it’s how you build trust and keep customers coming back.
https://www.youtube.com/embed/64o7cNDW93I
The moment a customer completes their purchase, their order pops up in your Shopify 'Orders' tab, right under the 'Unfulfilled' view. Think of this page as your daily mission control. It's where you'll buy postage, print labels, and manage every step of the journey from your shelf to their doorstep. The key is to develop a repeatable rhythm that cuts down on mistakes and saves you precious time.
Managing and Fulfilling Orders
Thankfully, Shopify is built to make this whole process incredibly straightforward. You can handle orders one at a time, but the real magic happens when you start processing them in bulk.
Let's say you wake up to 20 new orders. Instead of clicking into each one, buying a label, printing it, and repeating that 19 more times, you can just select all of them at once. With a few clicks, you can buy and print all 20 shipping labels in a single go. This batch-processing feature alone can turn an hour of mind-numbing clicks into a quick, five-minute task. It’s one of those "aha!" moments when you're learning how to set up shipping effectively.
A streamlined fulfillment system is the critical link between your back-end operations and your customer's happiness. And it all starts with offering great shipping options, especially since 73% of global shoppers say shipping cost is a top factor in their buying decisions. You can dive deeper into how this all comes together in this detailed shipping setup guide.
Customizing Your Packing Slips
Don't just slap a label on the box and call it a day. The packing slip inside is a golden opportunity. It’s not just a receipt; it’s another chance to connect with your customer. Shopify makes it easy to add your logo, store URL, or even a personal thank you note to your packing slips. This small touch goes a long way in making your brand feel professional and personalizing the unboxing experience.
You can tweak these by heading to Settings > Shipping and delivery and looking for the Packing slips section. It’s a simple change that makes a surprisingly big impact.
Pro Tip: I always use the packing slip as a final quality check. Before sealing the box, I run through the slip to make sure every single item is accounted for and correct. It’s a simple habit that has saved me from countless packing errors over the years.
Scheduling Carrier Pickups
Alright, your orders are packed, labeled, and ready to go. The best part? You don't even have to leave your home or office. For most carriers available through Shopify Shipping, you can schedule a pickup right from your admin dashboard. No more loading up your car and wasting time in line at the post office. The carrier comes directly to you.
For any entrepreneur juggling a million tasks, this feature is a lifesaver. It closes the loop on your entire fulfillment workflow, letting you manage everything from start to finish without ever leaving your screen. Building this kind of seamless system is what separates the stores that thrive from the ones that get bogged down by logistics.
Alright, let's get your shipping strategy dialed in. Once you have the basics down, it's time to start thinking about how your shipping can actually make you money instead of just costing you money. These aren't just small tweaks; they're powerful ways to boost your sales and keep customers coming back.
Think of it this way: moving beyond simple flat rates means you can start using shipping to nudge customers toward actions you want them to take. It's about building a smarter system that benefits both you and your shoppers.

Implement a Free Shipping Threshold
Want to know one of the most effective ways to get people to spend more? Offer them free shipping when their cart hits a certain value. It’s a classic for a reason. That simple little incentive is often all it takes to convince a shopper to add just one more thing to their order.
So, what's the magic number? It's not a random guess.
- First, find your Average Order Value (AOV). You need to know what people are already spending on average.
- Next, set your threshold strategically. A great starting point is to set the free shipping mark about 15-20% higher than your AOV. So, if your typical order is $65, a $75 free shipping threshold feels achievable and tempting.
- Finally, watch your profit margins. The extra profit you make from that larger order needs to be more than enough to cover the shipping cost you're eating.
This whole strategy taps right into basic human psychology. When someone sees they're just a few dollars away from a reward like free shipping, the urge to close that gap is incredibly strong.
Offer Local Delivery and In-Store Pickup
Don't overlook the customers right in your neighborhood! For anyone local, the convenience of getting their order delivered quickly or swinging by to pick it up can build some serious brand loyalty.
Setting up a local delivery zone in Shopify is a total game-changer. You can create a special, low-cost (or even free) delivery option for customers within a certain radius or a list of specific ZIP codes. Instantly, you become the most convenient choice for them.
You can set up both local delivery and in-store pickup directly within your Shopify shipping settings. This is a clear signal to local shoppers that you appreciate their business and provides a smooth experience that big-box online retailers often struggle to match. It's a simple, powerful win.
Navigate International Shipping Like a Pro
Going global is an exciting step, but it definitely adds a layer of complexity. The absolute key to success here is transparency. Nothing sours a customer's experience faster than getting hit with unexpected fees when their package arrives.
When you're first figuring out how to set up shipping on Shopify for international customers, nail these three things:
- Customs Forms: Shopify Shipping is a huge help here, as it can generate the required customs forms (like the CN22 or CN23) for you. Just be sure you're always honest and specific about what's in the box and what it's worth.
- Duties and Tariffs: Be prepared for the fact that your customer will almost certainly have to pay duties and taxes when the package arrives in their country. You need to state this very clearly in your shipping policy to set the right expectations from the start.
- Calculated Rates: Always use calculated carrier rates for your international orders. The cost to ship can swing wildly from one country to another, and this ensures neither you nor your customer is overpaying or underpaying.
By getting a handle on these more advanced shipping tactics, you're doing more than just moving boxes. You're turning a logistical necessity into a key piece of your sales and marketing engine, helping you build a much stronger and more profitable brand.
Got a Shipping Question? We've Got Answers
Even with the best instructions, you're bound to hit a snag or two when you're in the weeds of setting up shipping. It happens to everyone. A few questions tend to pop up time and time again, so let's clear the air on those common points of confusion right now.
Can I Set Free Shipping for Just Some of My Products?
Yes, you can! It’s one of the most common things people want to do, but Shopify doesn't have a simple "free shipping for this product" toggle. The secret here is to use a feature called shipping profiles.
Think of a shipping profile as a little bundle of rules you create for a specific group of products.
- First, head over to
Settings>Shipping and delivery. - Find the "Shipping" card and click
Manage. - From there, you'll want to create a new shipping profile. Give it a memorable name, like "Free Shipping Promos."
- Next, add only the products you want to have free shipping into this new profile.
- The final step is to create a shipping zone within that profile (say, for the United States) and add a free shipping rate.
And that's it! Now, any product you've placed in that special profile will automatically get free shipping at checkout. Everything else in your store will just use your regular, general shipping rates.
How Should I Handle Shipping for My Dropshipping Products?
When you’re dropshipping, the supplier is doing all the heavy lifting—packing and sending the orders. Your main job is to make sure the shipping fees you charge your customers line up perfectly with what your supplier is charging you. You never want to accidentally pay for a customer's shipping out of your own pocket.
The simplest way to manage this is with a dedicated dropshipping app, like DSers or Spocket. These tools are lifesavers because they often sync your supplier's shipping methods and costs directly to your store, making the whole process automatic.
If you're not using an app, you'll have to do this manually. Just ask your supplier for their shipping rate sheet. Then, go into your Shopify shipping settings and create flat-rate shipping options that match their prices. For example, if they charge a $5.00 flat rate for standard shipping to the US, you need to create a "$5.00 Standard Shipping" option for your own US shipping zone.
My Two Cents: The golden rule of dropship shipping is to mirror your supplier's costs. If they update their rates, you need to update yours immediately. Your profit margin depends on it.
What's the Real Difference Between Shopify Shipping and Carrier-Calculated Shipping?
This one trips a lot of people up. They both give your customers live shipping rates at checkout, but they get those rates from very different places.
Shopify Shipping is a fantastic built-in feature for merchants in the US, Canada, and a few other countries. It gives you immediate access to discounted, pre-negotiated rates from major carriers like USPS and UPS, all from within your Shopify admin. It's a no-brainer for most new and growing stores.
Carrier-Calculated Shipping is a more advanced feature, typically available on higher-tier Shopify plans. It allows you to connect your own business account with a carrier like FedEx or UPS. The system then pulls the exact rates from your personal contract. This is the way to go if you do a ton of volume and have negotiated your own killer discounts directly with the carrier.
My Calculated Shipping Rates Look Way Off. What Should I Check First?
Nine times out of ten, when your calculated rates are acting up, it’s because of a simple data entry mistake somewhere in your setup. If customers are reporting some bizarre shipping quotes at checkout, run through this quick diagnostic checklist.
- Product Weights and Dimensions: Pop over to your
Productsarea and spot-check a few items. A tiny typo—like entering 5 lbs instead of 5 oz—can completely wreck a shipping calculation and lead to sticker shock. - Your Default Package Size: Go to
Settings>Shipping and delivery>Packages. This is the fallback box Shopify uses for calculations when a product doesn't have its own dimensions saved. Make sure it's set to your most common box size. - The "Shipping From" Address: Finally, triple-check that your origin address is 100% correct. Every single shipping rate is calculated from this starting point. Even a small error here will throw off every quote your store generates.
At Wand Websites, we know that getting your shipping dialed in is a critical step, but it's just one piece of the e-commerce puzzle. If you're ready to build a high-performing Shopify store that's truly optimized to turn visitors into loyal customers, we're here to help. We build conversion-focused websites designed for sustainable growth. Learn how we can transform your business at https://www.wandwebsites.com.
