how to publish website: A Guide to Launching Your Site


That amazing moment when you finally hit "publish" is what this is all about. But trust me, a little prep work now will save you from massive headaches later. Before you go live, you need to run through a solid pre-flight check. This is doubly true if you’re an e-commerce seller making the big leap from a marketplace like Etsy to your own Shopify store.
Your Pre-Launch Sanity Check
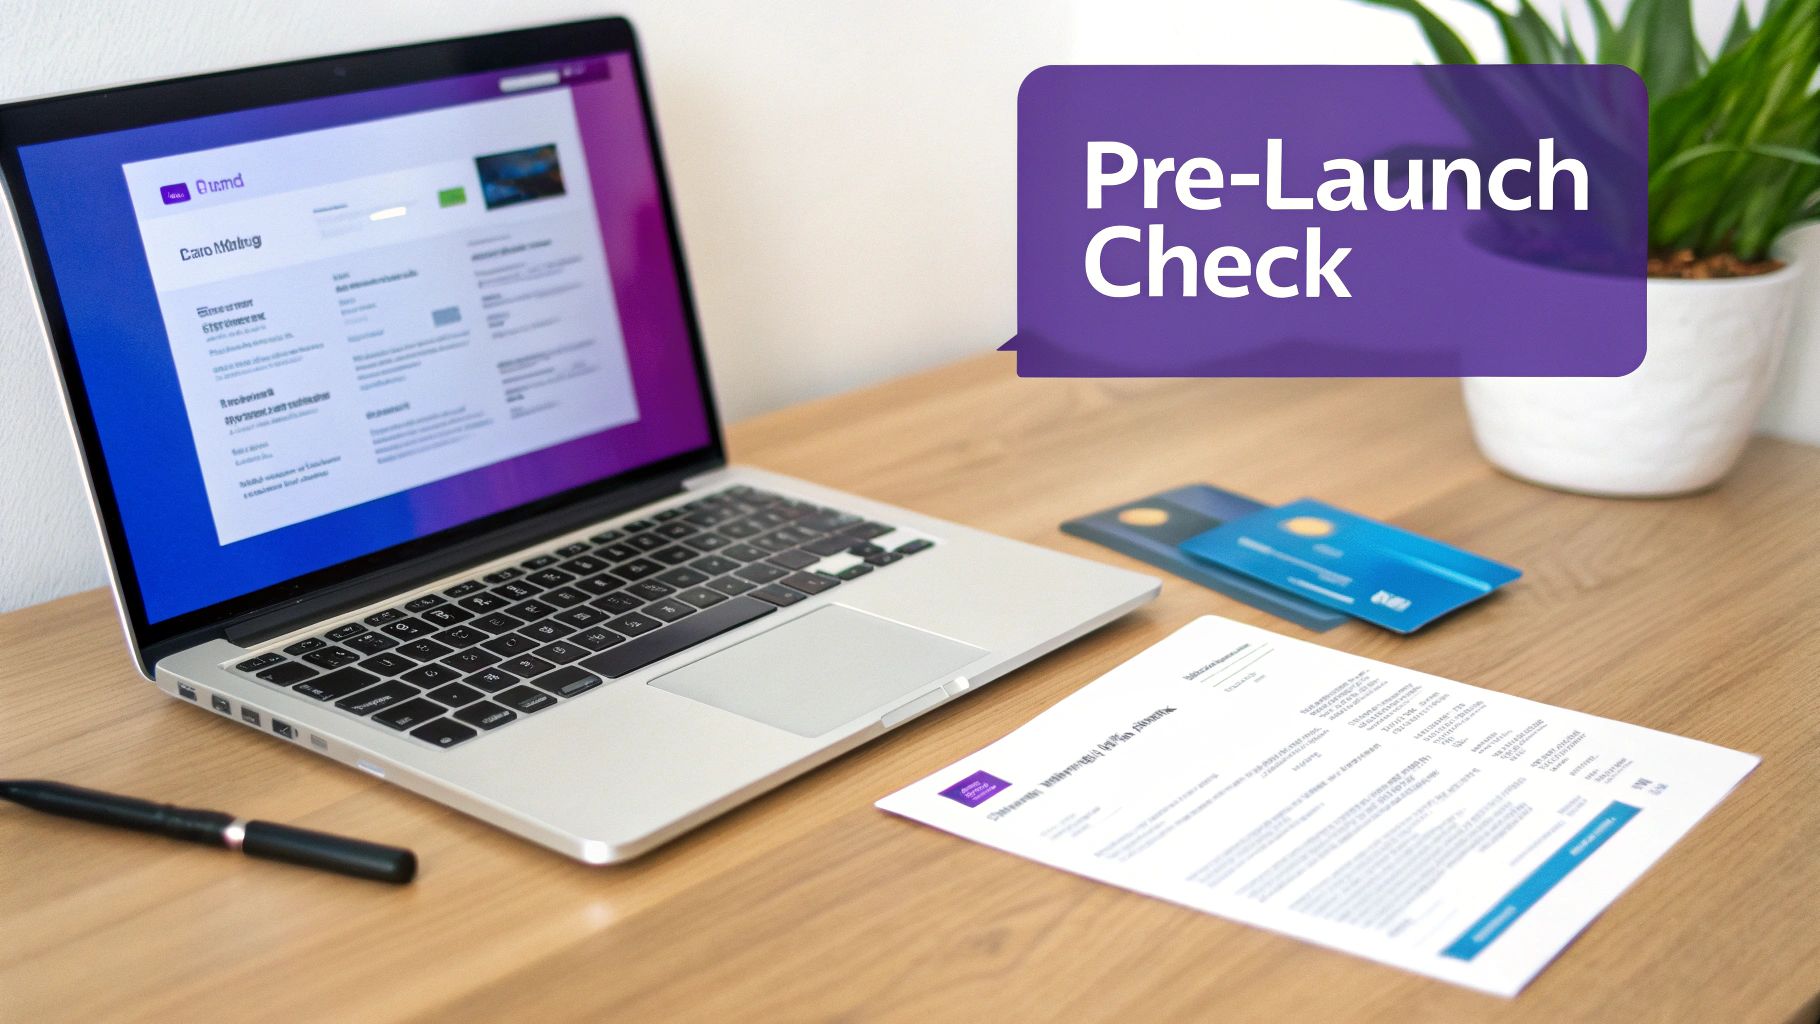
Going live feels like crossing the finish line, but what you do right before you get there is what really sets you up for a smooth start. This isn’t about chasing some impossible standard of perfection. It’s about building confidence and making sure your very first visitors have a seamless, professional experience from the second they land on your site.
After all, a clumsy launch can seriously ding your brand's credibility before you even get off the ground.
First Impressions and User Experience
You only get one chance to make a first impression, and those initial moments a visitor spends on your site are incredibly powerful. A staggering 94% of first impressions are tied directly to your website's design and functionality. A clean, intuitive layout with crisp, fast-loading images makes all the difference.
So, it's time to think like a brand-new customer. Go through your own site with fresh eyes.
- Spot-Check Your Product Pages: Are the descriptions clear and compelling? Do your photos show the products from every important angle? Is the pricing obvious?
- Run a Test Transaction: This one is absolutely non-negotiable. Place a test order from start to finish to make sure the checkout process is completely frictionless. Any tiny hiccup here means a lost sale.
- Test Every Single Form: Fill out your contact form, your newsletter signup, and any other form on your site. Confirm they actually work and that the submissions land in the right inbox.
Key Takeaway: Your pre-launch check is your last chance to catch small mistakes before they become public problems. A simple broken link or a typo on the homepage can instantly make your brand seem unprofessional.
The Essential E-Commerce Checklist
For anyone selling online, the stakes are even higher. Running a few extra checks can prevent a mountain of customer service emails and, more importantly, lost revenue. Before you publish, let's run through this checklist to make sure all the critical e-commerce functions are dialed in.
Here's a quick table to help you review the most critical parts of your e-commerce site before you share it with the world.
Taking just an hour to methodically run through this sanity check is one of the best investments you can make. It protects your brand's reputation and sets your shiny new website up for a truly successful launch.
Making Your Site Live on Your Platform
Okay, you’ve double-checked everything, and your palms are probably a little sweaty. This is the moment—time to flip the switch and show the world what you’ve built.
How you actually do this depends entirely on the platform you're using. Every system has its own way of moving your site from a private "work-in-progress" to a live, public storefront. Don't worry, it's usually just a few clicks. Let's walk through how it's done on the most common platforms.
Publishing Your Shopify Store
If you’re coming over from Etsy, you’re most likely on Shopify. When you first set up your store, Shopify puts up a password page by default. This is a lifesaver, letting you design and stock your store in private. Taking that page down is the final step to opening your doors.
Ready? It’s surprisingly simple.
- Head to your Shopify admin dashboard and find Online Store > Preferences in the side navigation.
- Scroll down a bit until you see the Password protection area.
- Just uncheck the box that says "Restrict access to visitors with the password."
- Hit Save.
And… that’s it! Seriously. Your store is now live. Anyone typing in your URL will see your beautiful new shop instead of a password prompt. It feels like it should be more complicated for such a huge milestone, but Shopify keeps it clean and simple.
The whole Shopify experience is built around this kind of straightforward control, as you can see in their dashboard.
This is a big reason so many sellers choose it—you get all the power without needing a degree in computer science.
Launching a WordPress Website
For those of you on WordPress, especially with hosts like Bluehost or SiteGround, "going live" usually means turning off a "Coming Soon" or "Maintenance Mode" page. Your host might have set one up for you, or you might have installed a plugin to handle it.
The exact steps can differ a little depending on your setup, but the idea is the same:
- If you used a plugin: Go find its settings in your WordPress dashboard (common ones are SeedProd or WP Maintenance Mode). There will be a big, obvious button to disable the maintenance/coming soon page.
- If your host set it up: You’ll likely need to log into your hosting control panel (often called cPanel) and find the setting there to turn it off.
Once you’ve disabled it, pop open a new incognito or private browser window and visit your site. This ensures you're seeing what a new visitor would see, not a cached version.
Pro Tip: Before you turn off your "Coming Soon" page on WordPress, make sure to clear your site's cache. Aggressive caching plugins can sometimes keep showing the old placeholder page to visitors even after you've gone live. It's a classic "oops" moment you can easily avoid.
Deploying a Static Website
Did you go the route of building a static site with something like Hugo or Jekyll? If you're using a modern host like Netlify or Vercel, the concept of "publishing" is a little different. Your site is technically live from the moment of your very first deployment.
The workflow is usually built around connecting your Git repository (from a service like GitHub) to your host. The first time you do this, your host builds the site and puts it online. From that point on, every time you push an update to your main branch, it automatically triggers a new build and deployment.
For many developers, this is the dream. Your live site is always perfectly in sync with your latest code, and updates are as simple as a single command.
Connecting Your Domain and Securing Trust
Alright, your website is technically live, but it's probably sitting on a clunky, temporary URL from your host. It's time to make it official. Getting your custom domain name hooked up and adding that little padlock icon is what turns your project into a legitimate business that people trust.
Think of the Domain Name System (DNS) as the internet’s phonebook. Your website has a specific server address (like a phone number), and your domain name (like yourbrand.com) is the name people actually remember. Right now, they aren't connected. You need to update the phonebook to tell it that when someone types in your memorable domain name, it should point them to your website's actual home on the server.
This sounds way more technical than it usually is. Most of the time, it's just a copy-and-paste job—you'll grab a couple of records from your website host and plug them into the settings where you bought your domain, like GoDaddy or Namecheap.
The diagram below gives you a bird's-eye view of how different platforms get to this exact point.
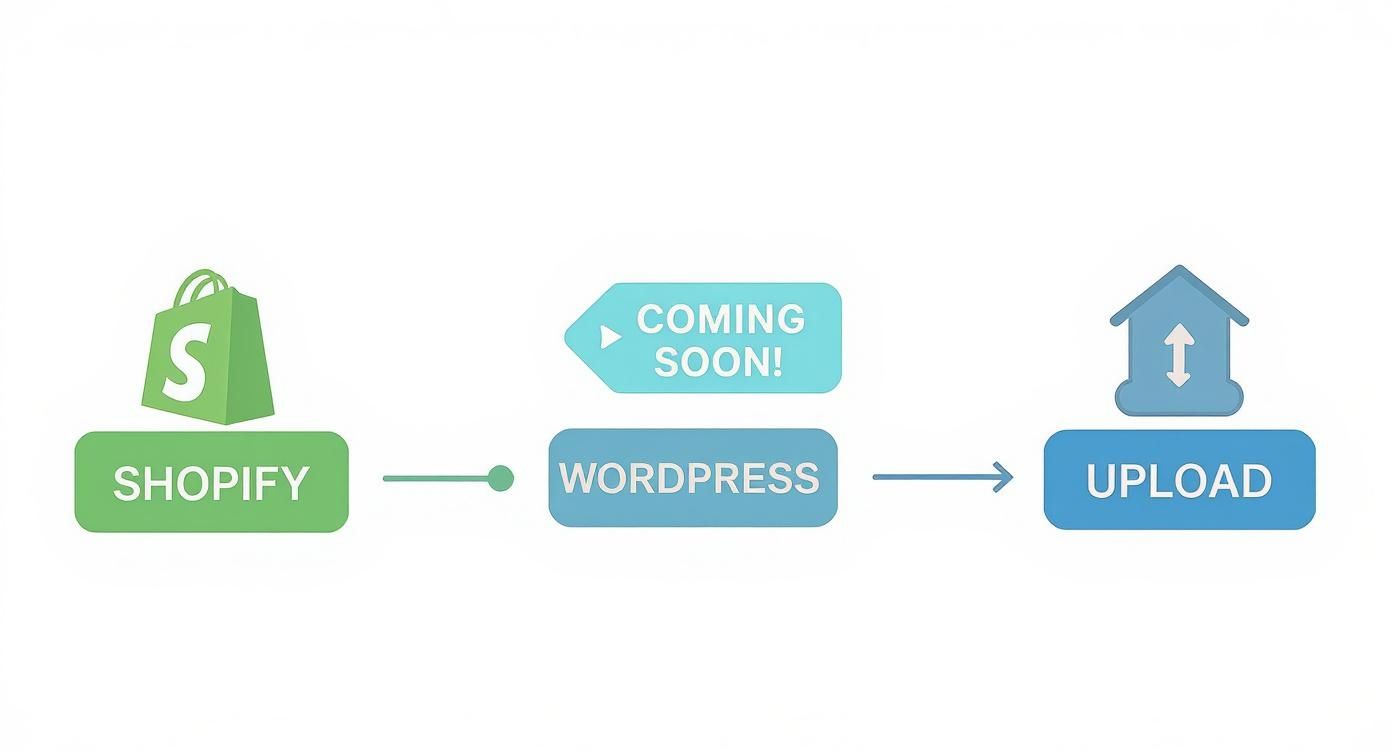
As you can see, whether you're hitting "publish," removing a password page on Shopify, or pushing your code live, the final, crucial step is always getting that custom domain pointed to the right place.
Why That Little Padlock Is a Big Deal
Once your domain is connected, there’s one last piece to the puzzle: getting an SSL certificate. This is what switches your site from http:// to the secure https:// and puts that trusty padlock icon in your customer’s browser bar.
For any e-commerce store, this isn't optional. It's everything.
Without it, you can't take payments. Period. Worse, visitors will be hit with a big, ugly "Not Secure" warning from their browser. That’s an instant sale-killer. In fact, studies show 85% of online shoppers will flat-out refuse to buy from an unsecured website.
The good news? Most modern hosts and platforms, especially Shopify, hand out free SSL certificates and usually activate them for you as soon as your domain is properly connected.
Making Sure Your Security Is Live
It's not instant. DNS changes and SSL activation can take a few hours to kick in across the internet. Once you've given it some time, you need to double-check that everything is working as it should.
Here's a quick verification checklist:
- Look for the Padlock: Open a fresh browser window (incognito is great for this) and type in your full domain:
https://www.yourdomain.com. You should see the padlock. - Test the Redirect: Now try typing in the
http://version. It should snap you over to the securehttps://version immediately. No hesitation. - Hunt for "Mixed Content" Errors: Click around your key pages—homepage, product pages, about page. If any security warnings pop up after the initial load, it probably means an element (like an old image) is being loaded from an insecure
http://link.
Final Check: Your goal is simple: every single person who visits any page on your site must see that secure padlock. It’s a tiny icon with a huge impact, telling customers you’re a real business and their payment info is safe. This is the final, critical step to launching a website that not only works but also earns trust from day one.
Your First 48 Hours Post-Launch
Congratulations, you did it! Your website is officially out in the wild. Take a moment to celebrate—you've earned it. But don't pop the champagne just yet; what you do in these first couple of days is critical for getting your site on the right track for long-term growth.
Launching a website has changed so much over the years. Way back in 1993, there were fewer than 100 sites on the entire internet. Fast forward to today, and we're looking at over 1.12 billion websites globally. The catch? Only about 17% of those are actively maintained. You can dig into more of these fascinating stats about the growth of the web on bloggerspassion.com. Making sure your site is one of the good ones starts right now.
Get on Google's Radar
Your new site is live, but as far as search engines like Google are concerned, it doesn't exist yet. You have to make a formal introduction.
This is where Google Search Console comes into play. It's a completely free tool that acts as a direct line of communication between you and Google, helping you monitor how your site shows up in search results.
Your very first task is to submit your sitemap. Think of a sitemap as a blueprint of your website that lists out all your important pages. Submitting it to Search Console is like telling Google, "Hey, I'm new here! Here's a map of all my content, please come take a look." This jumpstarts the indexing process, which is how your pages eventually get found by people searching online.
Start Tracking Your Visitors
Next up: data. You can't improve what you don't measure, and that's why setting up Google Analytics is non-negotiable from day one.
This tool is your window into who is visiting your site, how they found you, and what they do once they arrive. Even if you only get a handful of visitors at first, gathering this data from the very beginning is pure gold. It helps you understand what's working (and what's not) so you can make smarter decisions as you grow.
Pro Tip: Don’t just install the tracking code and call it a day. Take five extra minutes to set up a basic goal, like a "Thank You" page view after a purchase or a newsletter sign-up. This lets you track actual conversions, not just page views.
The Final Live Review
I know you tested everything before launch, but one final check is essential now that the site is well and truly live on its real domain. Sometimes, little gremlins only pop up after you publish.
Grab your phone, a tablet, and sit down at your desktop. Go through your entire website on each device one last time.
- Mobile: Is the navigation still intuitive? Are all the buttons easy to tap?
- Tablet: Do your images and text scale properly, or does anything look weird?
- Desktop: Is everything aligned correctly and loading as fast as it should?
This final walkthrough is your chance to catch any strange formatting issues or broken links that might have slipped through the cracks. It's a small step that makes a big difference to your first visitors.
Once that's done, it's time to tell the world you're here! Send out that launch announcement to your email list and post it across your social media channels. This isn’t just about making a big splash; it’s about driving that initial wave of traffic that signals to Google your new site is ready for business.
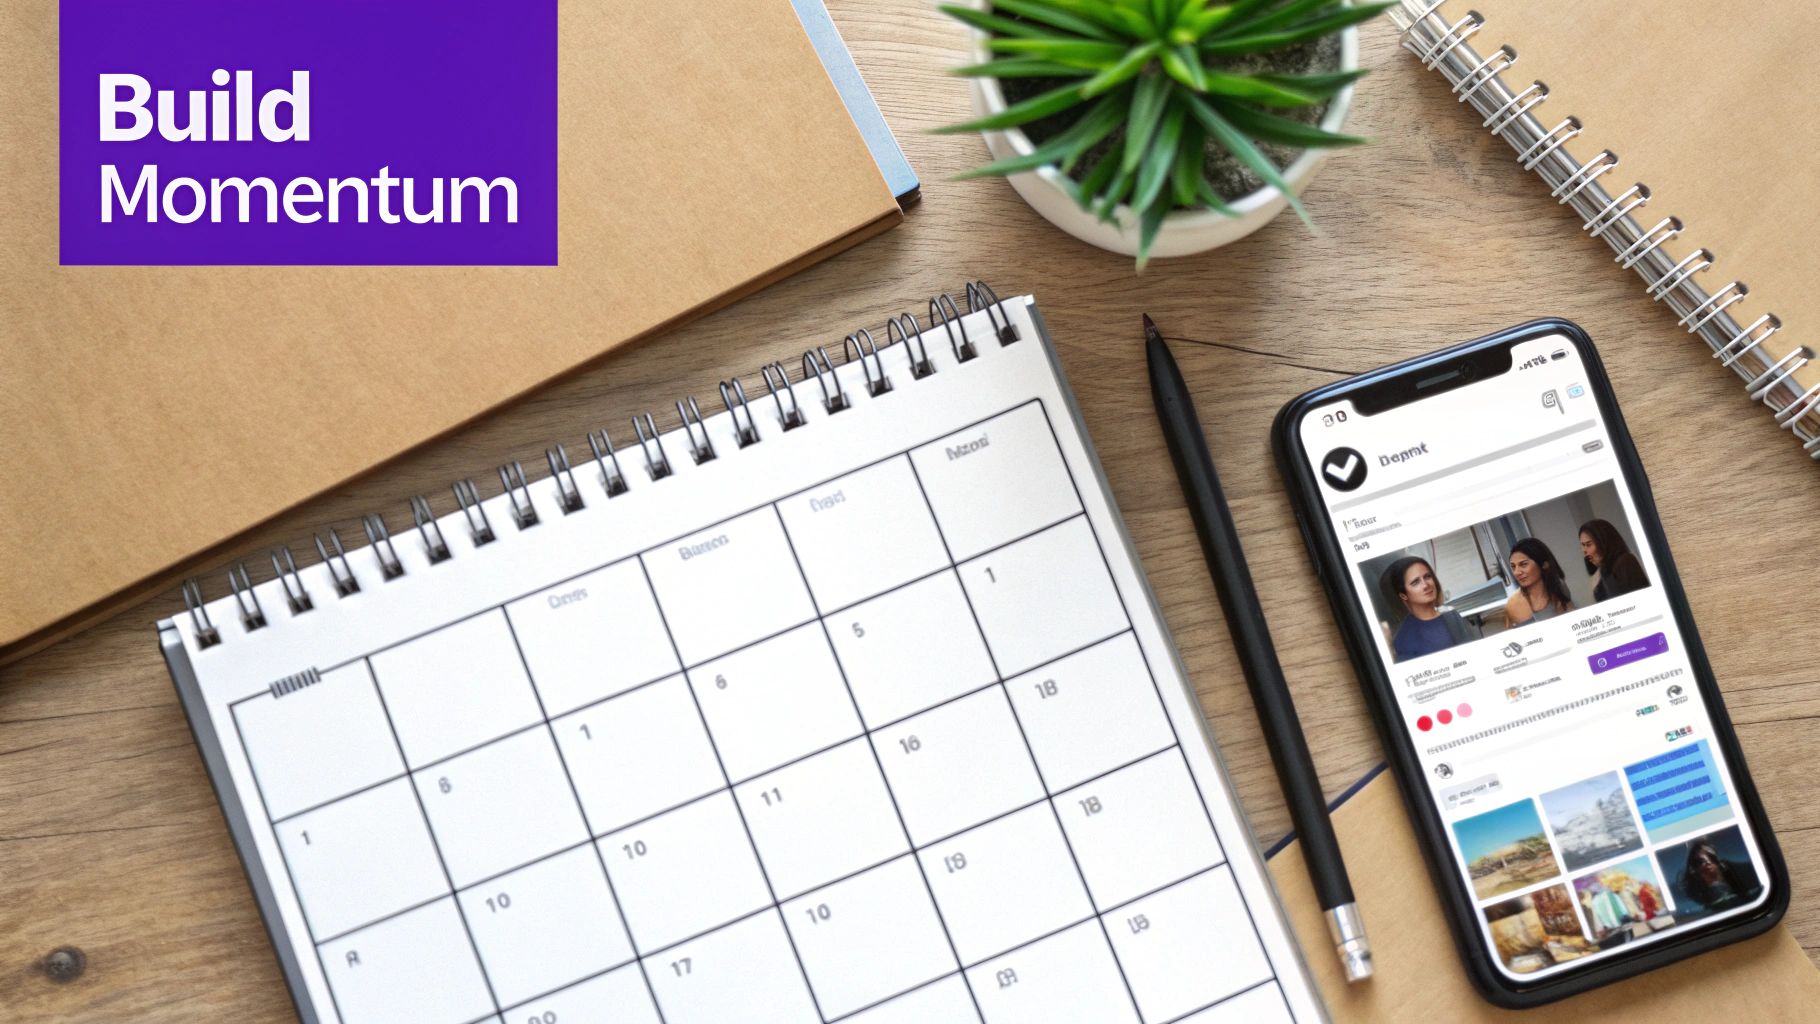
Building Momentum After You Publish
Okay, you did it. You hit "publish." Take a moment to celebrate, because that's a huge step! But don't kick your feet up for too long. Publishing your website isn't the finish line; it’s the starting gun.
Now, the real work begins. Your website is officially a living, breathing part of your business, and the goal is to turn it from a pretty online brochure into a magnet for your ideal customers. It’s time to shift your focus from building the site to growing your audience.
Create Content That Actually Helps People
For an e-commerce brand, content is your superpower. You're not just selling products—you're offering solutions. Your blog is the perfect spot to show off your expertise and gently guide customers to the right purchase, all without a cringey sales pitch.
Think about creating genuinely helpful, in-depth articles. The data backs this up: websites with longer, more detailed content tend to do much better in the long run. While the average blog post that gets any real traffic is around 1,427 words, it's the beefier articles between 2,000 to 3,000 words that often get the best results.
It's no wonder that 76% of bloggers rely on 'how-to' articles. It’s a format that just plain works because it directly answers a user's need.
My Favorite Pro-Tip: Dig through your old Etsy messages and make a list of every question a customer has ever asked you. Seriously. Each one of those questions is a potential blog post. If one person took the time to ask, you can bet hundreds more are searching for that exact answer online.
Map Out Your Content to Stay Consistent
Consistency is everything when it comes to content. A blog post here and there won't build the kind of momentum you need to get noticed. The secret is a content calendar. And no, it doesn't have to be fancy—a simple spreadsheet will do the trick.
Here’s a simple way to get started:
- Brainstorm Your Heart Out: Jot down 10-15 ideas for "how-to" guides or articles that solve a problem your product addresses.
- Be Realistic With Your Schedule: Can you commit to one new article per week? Or is every two weeks more manageable? Pick a pace you can stick with.
- Outline First, Write Second: Before you type a single paragraph, break down your topic into a simple outline. It’s a lifesaver for keeping your thoughts organized.
Once your site is live, your entire focus should be on getting people to it and encouraging them to buy. For anyone running an online store, exploring different e-commerce growth strategies is what will help you turn that beautiful new site into a real sales machine.
Getting your website published is just step one. Creating consistent, valuable content is how you actually win the game.
Common Questions About Hitting "Publish"
Getting ready to launch your website can feel a bit like learning a new language on the fly. It's completely normal to have a few nagging questions pop up right as you're about to cross the finish line. Let's tackle some of the most common ones so you can launch with confidence.
One of the biggest hang-ups I see is people waiting for their site to be "perfect." Here's the honest truth from someone who's done this a hundred times: it never will be. The real goal is to be professional, functional, and secure. If your main pages look great, the checkout process is smooth, and all your legal bits are in place, you’re good to go.
How Long Until My Website Shows Up on Google?
This is easily the most-asked question after a site goes live, and the answer is always, "it depends." It can take anywhere from a few days to a few weeks for your new site to get noticed by Google. They have to find it, "crawl" it to see what's there, and then add it to their massive index.
But you're not powerless here. You can give Google a major nudge in the right direction. The single best thing you can do is submit your sitemap directly to Google Search Console. Think of it as handing Google a map to your new store instead of waiting for them to stumble upon it.
Why Does My Site Say "Not Secure"?
That "Not Secure" warning in the browser bar is enough to cause a mini heart attack, but don't panic. The fix is usually pretty simple. Nine times out of ten, it means your SSL certificate is either missing, still activating, or configured incorrectly.
Here’s what to check:
- Has it Activated? Most web hosts will automatically install a free SSL certificate for you once your domain is properly connected. This isn't instant, though—it can take a few hours to kick in.
- Do you have "Mixed Content"? This is a super common culprit. It happens when your page is secure (
https://), but an image or script on that page is still loading from an old, insecurehttp://address.
My Go-To Trick: A quick way to find mixed content problems is to use a free online tool like Why No Padlock?. You just plug in your URL, and it’ll point out exactly which elements are causing that dreaded warning.
Getting these last few details sorted out is the final step in this whole process. Once they're handled, you can finally stop tweaking the technical stuff and start focusing on what actually grows your business.
Ready to stop worrying about the technical details and start focusing on sales? At Wand Websites, we build high-performing Shopify stores designed for growth, handling everything from setup to optimization so you can thrive. Let’s turn your hard work into more traffic and bigger orders. Learn more at https://www.wandwebsites.com.
